You’ve got 800 instruments to calibrate, mechanical completion is running two weeks behind, and management just asked if you can still hit the startup date.
Effective instrument calibration during commissioning is where schedules go to die, or thrive. The work itself isn’t difficult. The problem is that everyone treats calibration as an afterthought until they’re scrambling to complete loop checks while construction crews weld overhead. One Alberta midstream project burned six weeks of float because they had three calibrators for 400 pressure transmitters. Basic arithmetic nobody did until day one. Industrial commissioning in Canada presents unique challenges, from extreme temperature swings to provincial regulatory requirements that vary.
This guide covers systematic calibration planning, workshop versus field strategies, procedures for different instrument types, loop-checking integration, SIS requirements, and documentation that actually gets accepted at turnover.
Disclaimer: Calibration requirements, accuracy specifications, and applicable standards vary by industry, application, and jurisdiction. Equipment pricing, lead times, and resource requirements fluctuate based on market conditions. All information reflects general industry practices as of 2025 and should be verified against project specifications, manufacturer requirements, and applicable codes before implementation.
Why Calibration During Commissioning Differs from Routine Maintenance
During routine maintenance, a technician calibrates 5-15 instruments daily across a running facility with known histories and established procedures. Commissioning flips that model. You’re calibrating hundreds or thousands of instruments in an 8-16 week window while construction continues around you.
A 50,000 BPD oil processing facility might have 1,200-1,800 instruments requiring calibration. World-scale petrochemical plants can run 4,000-6,000 or more. Most projects require 4-8 two-person teams working in parallel, coordinating with electrical hookups, loop checks, and system turnover activities competing for the same instruments.
None of these instruments has an operational history. You’re establishing baseline data that operations will rely on for years, often before confirming installation is correct.
Planning During Engineering
Pull your instrument index early. Transmitters typically represent 40-50% of your count. Add indicators (15-20%), control valve positioners (8-12% of count but requiring significantly more calibration effort), and safety sensors (5-10% with documentation that substantially increases work).
Define acceptance criteria before anyone picks up a calibrator. Standard process transmitters often need ±0.25% to ±0.5% of span. Custody transfer instruments frequently require ±0.1% or tighter. Safety instruments follow SIL calculations. Get these documented and verified against project requirements.
Work backward from turnover dates. If Unit 101 turns over on March 15th and loop checking takes two weeks, calibration wraps by March 1st. Start on February 1st for 150 instruments with planned resources.
Equipment requirements for 1,500 instruments typically include 6-10 multifunction calibrators, 2-4 pressure modules, 2-3 temperature dry blocks, plus analytical specialty equipment. Verify pricing with suppliers during planning and order 12-16 weeks ahead.
Common Mistakes That Kill Schedules
Starting before installation completes. I watched a contractor calibrate 200 temperature transmitters in a workshop. Then pipe fitters mounted them with pipe wrenches, cracking electronics on a significant number of them. Verify: properly mounted, connections leak-tested, wiring terminated, major construction finished.
Mismatched equipment to the scope. 200 pressure transmitters and one calibrator means 67 hours minimum at 20 minutes each. Plan adequate coverage based on instrument count, then add contingency.
Fuzzy field/control room handoffs. Spell out ownership by phase. Calibration: field leads. Loop checking: coordinated blocks. System testing: control room leads.
Ignoring environmental factors. Field calibration in extreme temperatures affects accuracy. Calibrating a pressure transmitter at -20°C when it will operate at 25°C introduces errors. Plan for ambient conditions or use correction factors where applicable.
Uncontrolled layout revisions during construction create instrument location changes that invalidate completed calibration work.
Building an Effective Calibration Schedule
Calibrating in tag number order kills efficiency. FT-101 to FT-102 in a different unit, and FT-103 across the plant means more walking than calibrating.
Group by practical execution: by system for coordinated turnover, by area for minimized travel, or by instrument type for equipment constraints. Scheduling all RTD calibrations while the temperature dry block is on site makes sense.
Build failure contingency into your schedule. Based on typical experience, 5-15% of instruments fail initial calibration. New instruments from established manufacturers trend toward 5-8%. Instruments stored through temperature extremes show higher rates.
Equipment Selection and the 4:1 Accuracy Ratio
The 4:1 accuracy ratio is standard practice. A transmitter with ±0.1% accuracy needs a calibrator at ±0.025% or better. Without the adequate ratio, you’re generating paperwork without verifying accuracy.
What calibration equipment do you actually need?
For pressure instruments, match your calibrator modules to instrument ranges. A 0-100 psi module won’t help with 0-6000 psi transmitters. Hand pumps work for lower pressures. Pneumatic or hydraulic sources handle higher ranges.
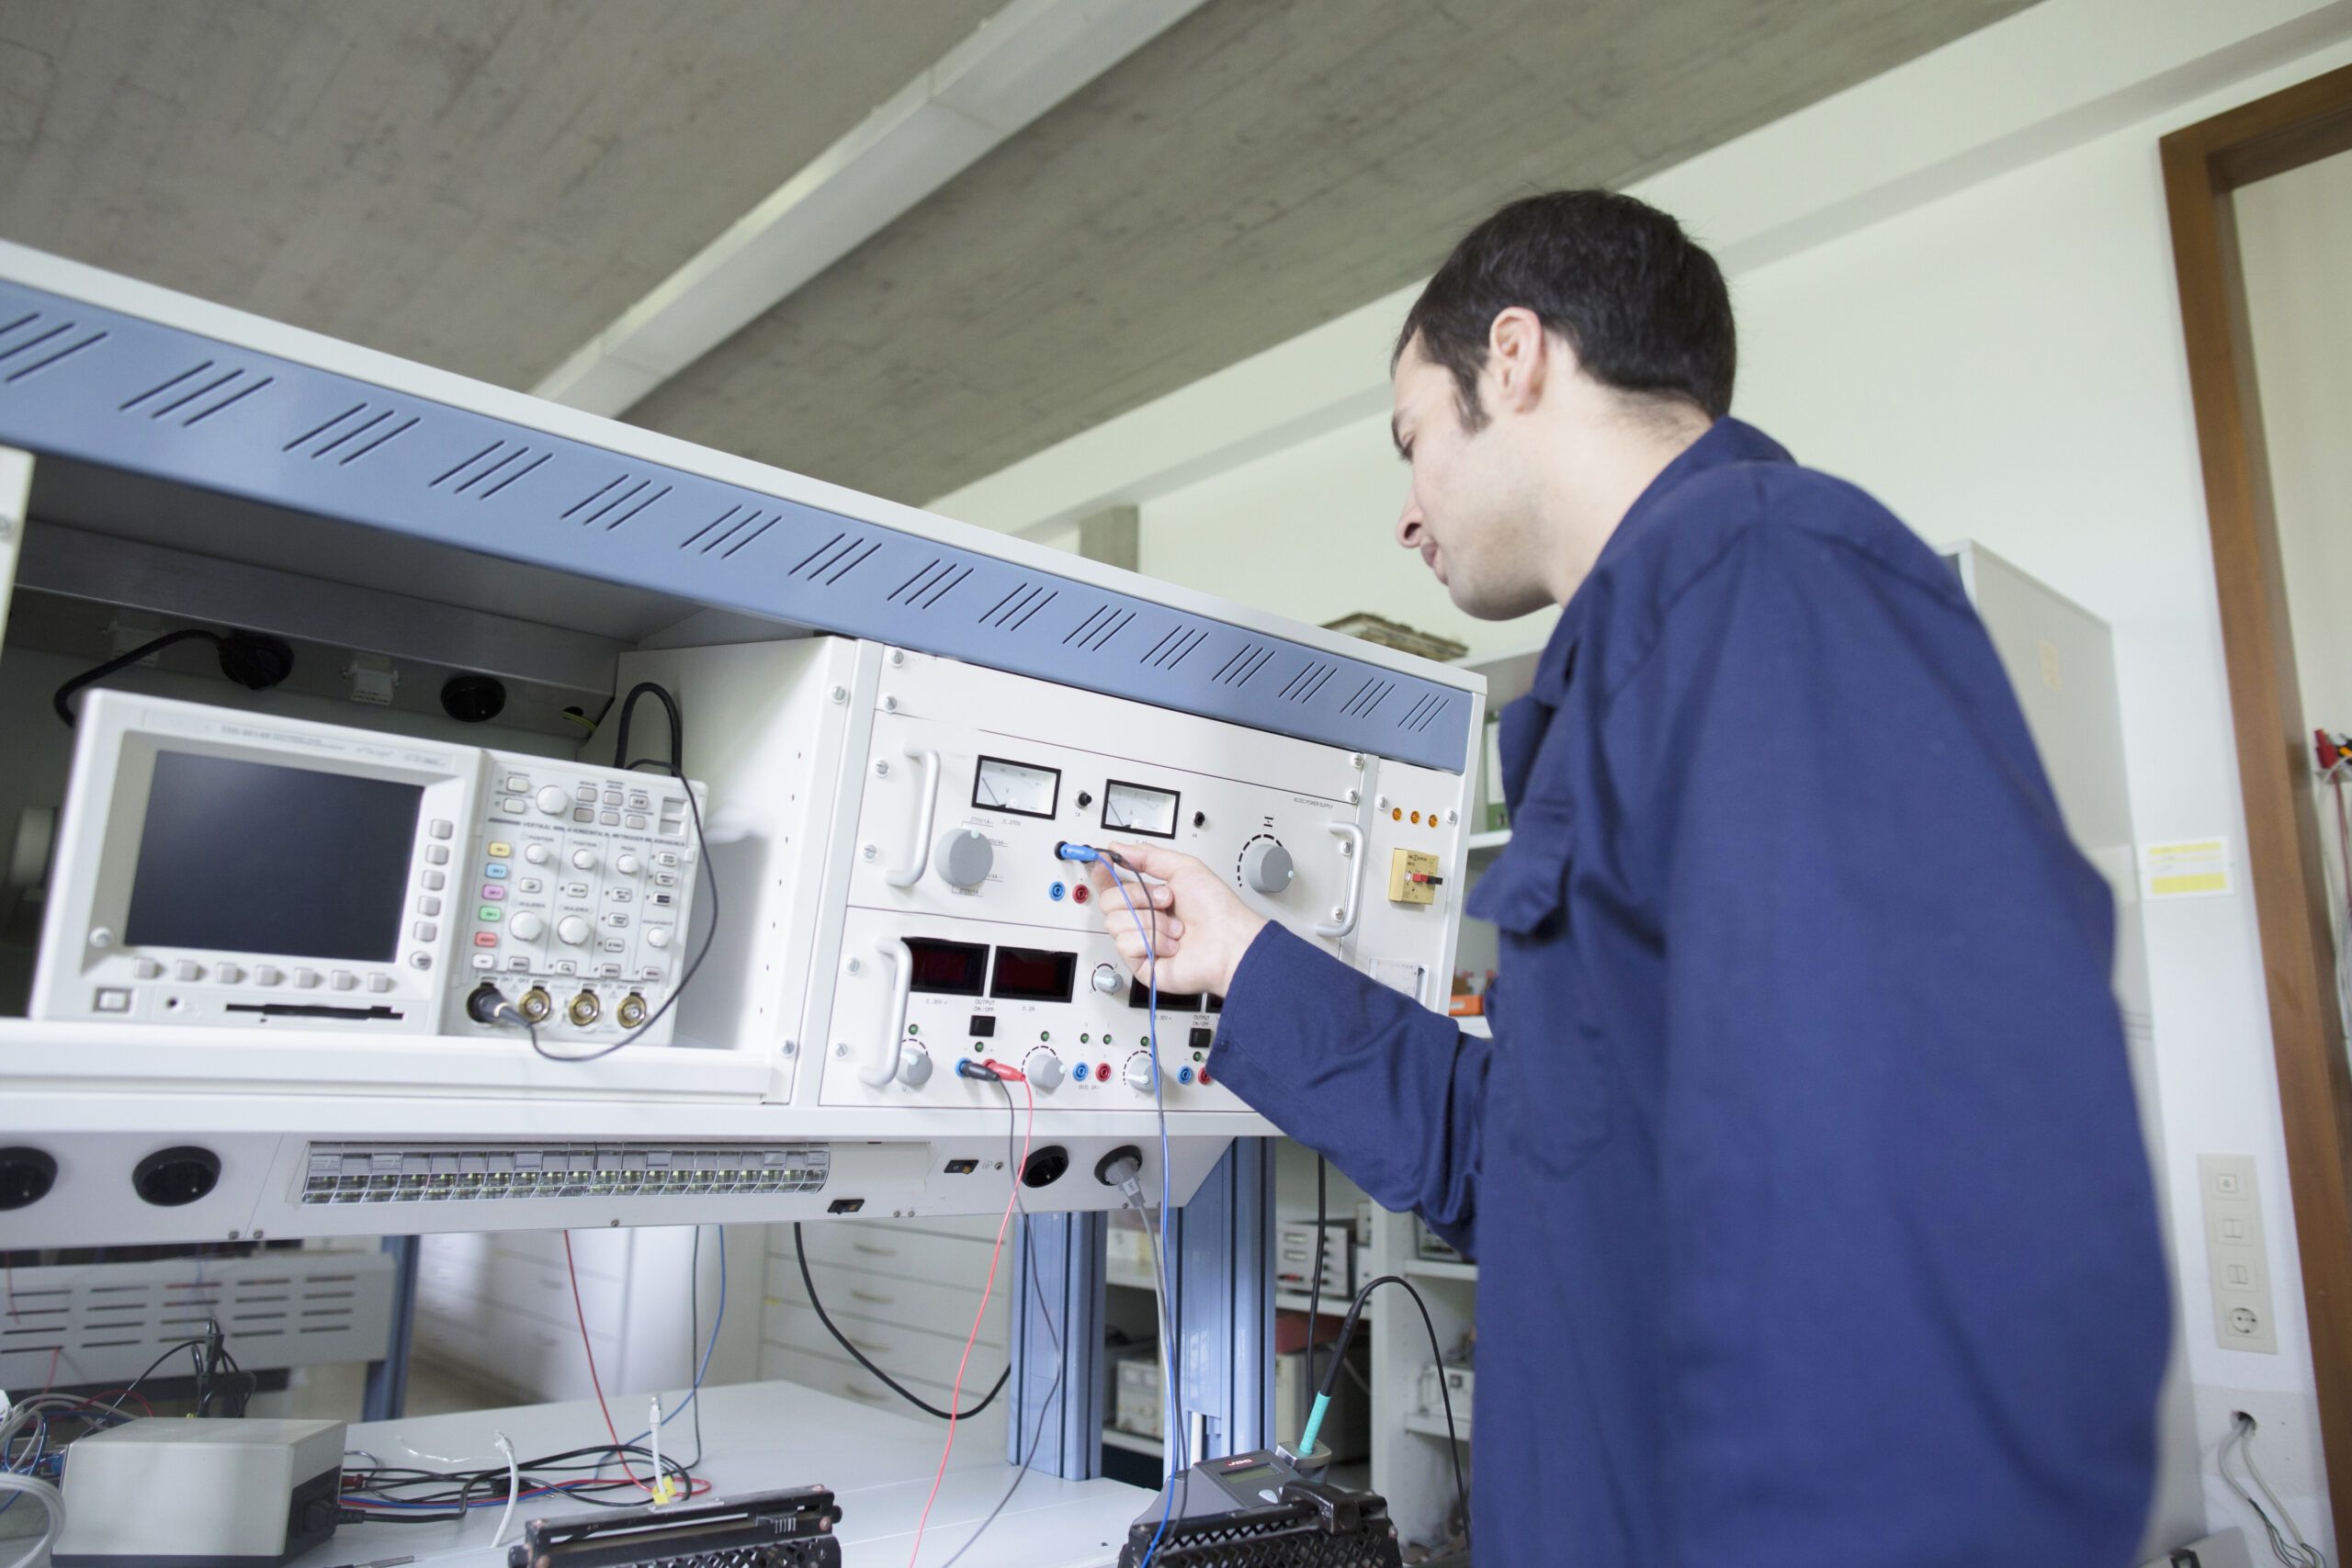
For temperature instruments, decide between simulation and actual temperature sources. RTD simulators verify transmitter function quickly. Dry block calibrators or temperature baths verify complete sensor-transmitter chains but take longer due to stabilization time.
For analytical instruments, stock certified reference solutions. pH buffers (4.00, 7.00, 10.00), conductivity standards, and calibration gases specific to your analyzers. Check expiration dates.
Rental makes sense for equipment you won’t need post-commissioning. Track calibrator certifications throughout. An 18-month project with 12-month certificates means mid-project recertification.
Documentation Standards
Lock format before the first calibration. As-found data supports warranty claims and failure analysis. As-left data establishes operational baseline. Both are required for instrument certification sheets.
Certificates typically include: instrument tag and description, manufacturer and serial number, calibration equipment with traceability references, environmental conditions, test points across span, as-found readings, as-left readings after adjustment, calculated errors, pass/fail determination, technician identification, and approval signatures.
Electronic calibration management systems reduce effort versus paper and enable real-time progress tracking. Verify compatibility with client handover expectations before committing.
Workshop Calibration Before Field Installation
Coordinating workshop calibration with factory acceptance testing allows you to verify instrument performance before equipment ships to site. Calibrating a transmitter on a bench takes 15-20 minutes. The same transmitter 40 feet up a pipe rack with wind and scaffold constraints takes 30-45 minutes or more. That gap across hundreds of instruments represents weeks of schedule improvement.
Which Instruments Benefit from Workshop Calibration
Transmitters and indicators: Configure range, calibrate 4-20mA output, verify HART communication, apply calibration tag, ship ready to install. Workshop rates run significantly higher than field rates.
Smart instruments requiring configuration: Multivariable transmitters, Coriolis meters, and instruments with extensive parameter setup benefit from bench time with proper communication interfaces. Configure device address, engineering units, damping, and diagnostic parameters before field installation.
Control valve positioners: Verify function, I/P calibration, and characterization curves before field stroke calibration.
Analytical instruments: pH, conductivity, and dissolved oxygen analyzers need controlled temperature and contamination-free environments. Workshop calibration with certified buffers at stable conditions gives a clean baseline.
Skip workshop for: instruments requiring process connections, strain-gauge load cells sensitive to installation stress, and custody transfer instruments needing field verification.
Protecting Calibrated Instruments
Proper packaging prevents damage. Cap process connections. Protect electrical entries from moisture. For storage beyond two weeks, use a climate-controlled space rather than outdoor laydown yards.
Calibration tags indicate readiness and document who calibrated when. Consistent tagging prevents instruments from returning “just in case” or getting installed without verification.
Some instruments require re-verification after installation. Pressure transmitters with remote diaphragm seals need zero check after mounting. RTDs in thermowells may need verification after the mechanical stress of installation.
Field Calibration Procedures by Instrument Type
Pre-Calibration Checks
Before connecting a calibrator, verify readiness.
Installation complete? Correct mounting orientation, process connections made, valves positioned, and tag matches paperwork. Many apparent calibration failures trace to configuration or installation errors.
Wiring verified? 24VDC present and stable (22-26VDC at terminals), continuity confirmed, no grounds or shorts, polarity correct. Transmitters working in the workshop but failing in the field often have wiring issues.
Are environmental conditions acceptable? Extreme cold or heat affects calibration accuracy. Note the ambient temperature on calibration records. Some specifications require calibration within defined temperature ranges.
Five-Point Calibration Method
Test at 0%, 25%, 50%, 75%, and 100% of span in both directions (increasing then decreasing). This identifies span errors, zero errors, linearity problems, and hysteresis.
Record applied input, measured output, and calculated error at each point. Compare against acceptance criteria immediately rather than discovering adjustment needs back in the office.
Pressure Transmitter Calibration
Apply calibration pressure using an appropriate source matched to the range and process connection. Verify zero at atmospheric or reference pressure. Apply 25%, 50%, 75%, and 100% pressure values, recording 4-20mA output at each point.
For differential pressure transmitters, apply pressure to the high side with the low side vented, then reverse to verify the negative range if applicable.
Smart pressure transmitters may require sensor trim (correcting the pressure measurement) and output trim (correcting the 4-20mA conversion) as separate adjustments. Document both analog and HART digital readings.
Temperature Instrument Calibration
RTD transmitters: Use the RTD simulator to inject resistance values corresponding to temperature points across the range. Verify 4-20mA output matches expected values. This tests the transmitter function but not sensor accuracy.
Complete RTD loops: Insert the sensor into the dry block calibrator or temperature bath at known temperatures. Wait for stabilization (5-15 minutes, depending on mass). Verify output matches expected values. This tests the complete measurement chain.
Thermocouple transmitters: Use the thermocouple simulator to inject millivolt signals. Verify cold junction compensation is configured correctly for your installation.
Flow Transmitter Calibration
Most flow transmitters cannot see actual flow during commissioning. Verify configuration: K-factor, pipe diameter, fluid properties, and engineering units. Test 4-20mA output scaling using simulation modes or test functions.
For magnetic flow meters, verify empty pipe detection and electrode continuity. For ultrasonic meters, verify transducer signal strength and path diagnostics.
Actual flow calibration typically occurs at manufacturer facilities before shipment or through in-situ proving during operation.
Level Transmitter Calibration
Differential pressure level: Apply pressure equivalent to 0%, 50%, and 100% levels using hydrostatic head calculation. Account for specific gravity and reference leg configuration.
Radar and ultrasonic: Verify configuration parameters (tank shape, empty and full distances). Some allow calibration using reference targets at known distances.
Guided wave radar: Verify probe length configuration and reference reflection signatures.
Analytical Instrument Calibration
pH analyzers: Use at least two buffer solutions bracketing the expected operating range. Temperature affects pH measurement, so calibrate at a controlled temperature or apply temperature compensation.
Conductivity analyzers: Use certified conductivity standards. Cell constant verification may be required.
Dissolved oxygen and other sensors: Follow manufacturer procedures with appropriate certified reference solutions.
When Calibration Fails
Start with simple checks: loose connections, damaged cables, configuration errors, and installation issues. These account for substantial portions of failures.
Pattern failures (every pressure transmitter low, every third thermocouple off) suggest calibration equipment problems rather than instrument defects.
Define escalation paths before needed: procurement for defective instruments, engineering for specification mismatches, and construction for installation damage.
Loop Checking and Calibration Verification
Individual calibration proves instrument accuracy. Loop checkout proves signals reach destinations correctly. Both are required.
Integrating Calibration with Loop Testing
Complete calibration before loop testing. Loop checking uncalibrated transmitters only confirms wiring. Discovering calibration problems during loop checkout doubles work.
Loop verification requires two-person coordination. Field applies known signal, control room confirms displayed value within tolerance. This catches wiring errors, scaling mismatches, and configuration mistakes.
Verifying Control System Integration
Engineering units and scaling: Verify DCS/PLC displays match transmitter configuration. A transmitter outputting 12mA should display 50% or equivalent engineering units.
Alarm setpoints: Inject signals at alarm trip points. Verify correct alarm activation, priority, and acknowledgment behavior.
Your SCADA software configuration determines how calibration data flows to operators and historians.
Historian integration: Confirm data recording with correct timestamps, engineering units, and compression settings.
Fail-safe behavior: Disconnect signal or power. Verify system responds correctly (upscale, downscale, or hold last value as designed).
For motor control loops, coordinate calibration verification with motor testing to confirm that protection circuits respond correctly to instrument inputs.
Control Valve Calibration and Stroking
Positioner calibration: Verify 4mA produces a closed position, 20mA produces an open position, and correct characterization (linear, equal percentage) between.
Full stroke testing: Command 0%, 50%, 100% positions. Verify actual stem position matches the command. Measure stroke times.
Failure position: Remove air supply. Verify valve moves to the specified fail position (open, closed, or last) within the required time.
Limit switches and feedback: Verify position feedback signals match actual position. Check limit switch trip points.
Safety Instrumented Systems Require Special Attention
SIS calibration carries different stakes. These systems protect people and equipment.
SIS Calibration Requirements
IEC 61511 and its Canadian adoption, CSA 61511, establish the general framework. Proof testing must verify safety function performance. Documentation must support lifecycle management.
Independence often applies to higher SIL applications. Calibrating teams may need separation from installing teams. Confirm project requirements.
SIL-rated instrument accuracy: Safety requirements specifications define the required accuracy for each safety function. Calibration must demonstrate compliance with these requirements.
Bypass management: Formal authorization, defined time limits, physical indication of bypass status, and verified restoration. Follow procedures even when the process isn’t running.
For Alberta projects, SIS compliance must align with Alberta Energy Regulator (AER) requirements and Directive 060 for upstream oil and gas facilities. Provincial occupational health and safety regulations may impose additional documentation and verification requirements. Confirm jurisdiction-specific obligations during project planning.
Voting Logic and Redundancy Verification
For redundant sensor configurations (1oo2, 2oo3), test each sensor individually. Then, verify that the voting logic responds correctly.
For 2oo3 voting: tripping one sensor shouldn’t cause a shutdown. Tripping two should. Test all combinations and document results.
Final Element Testing
Safety valve partial stroke testing: Verify valve movement without full closure. Establish baseline signatures for operational proof testing.
Logic solver verification: Inject signals at the input cards. Verify logic solver processes correctly and drives outputs as designed.
Managing Calibration Data for Handover
Documentation That Meets Requirements
Organize records by system and tag number. Sorting by calibration date is useless for finding a specific transmitter years later.
Instrument certification sheets consolidate calibration results, configuration data, and approval signatures into a single document per instrument.
Final control element certifications include stroke testing results, failure position verification, and positioner configuration.
Calibration equipment traceability links each calibration to specific equipment with valid certificates, enabling audit trail verification.
Preparing for Operations
Establish baseline calibration intervals from your data, manufacturer recommendations, and industry practice. Standard transmitters often start at 12-24 months. Critical instruments may need shorter intervals. Safety instruments follow SIL-driven proof test requirements.
Confirm operating system compatibility. SAP PM, Maximo, or other CMMS? Structure data for import compatibility. Delivering incompatible formats creates work for everyone.
Train operations teams on calibration requirements for the instruments being turned over. Document any instruments requiring special procedures or attention.
Vista Projects’ AVEVA Asset Information Management specialization helps structure commissioning data for operational value and enterprise system integration, bridging the gap between project documentation and ongoing maintenance requirements.
Making Calibration a Competitive Advantage
Projects that execute systematic calibration start up more smoothly with fewer spurious trips during initial operation. The pattern holds consistently: planned calibration outperforms afterthought calibration.
Consider calibration requirements during design. Plan workshop calibration during procurement. Execute with adequate resources. Deliver compatible documentation. Each phase builds on the previous.
Evaluate your current practices. Which common mistakes look familiar? Where could better planning reduce field execution time?
For complex projects with large instrument counts, compressed schedules, or safety-critical systems, experienced partners bring systems and knowledge refined across many projects. Vista Projects offers integrated engineeringThe process of integrated engineering involves multiple engineering disciplines working in conjunction with other project disciplines to e... across 13 energy markets, combining I&C depth with practical commissioning experience from compressor stations to world-scale facilities. For industrial commissioning in Canada, experienced partners understand both the technical demands and the regulatory landscape across provinces.
This guide is for informational purposes only and should not be considered engineering, regulatory, or commercial advice. Requirements vary by industry, application, region, and market conditions. For industrial commissioning in Canada, refer to CSA standards (including CSA 61511 for SIS) and applicable provincial regulations such as AER directives in Alberta. Consult project specifications, manufacturer documentation, and qualified professionals for guidance. Verify current requirements before implementation. For industrial commissioning in Canada, refer to CSA standards and applicable provincial regulations.
